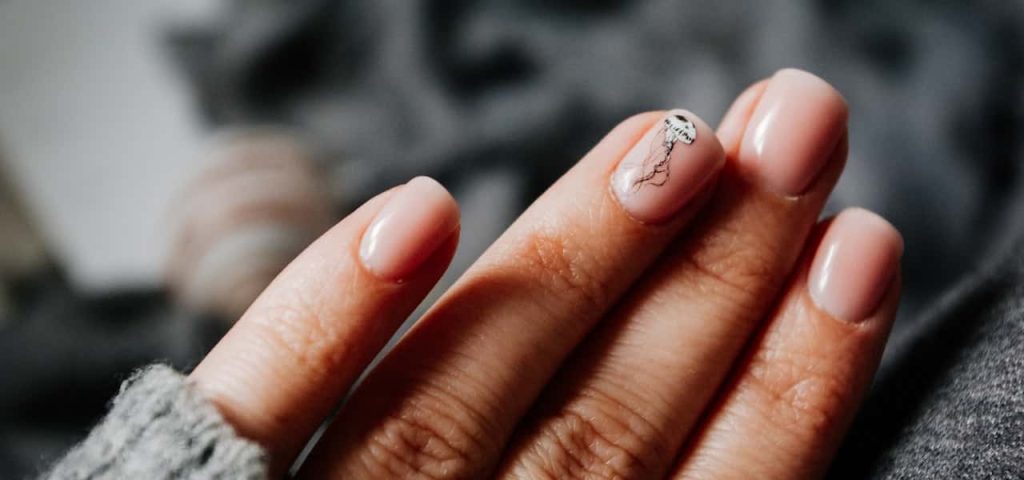
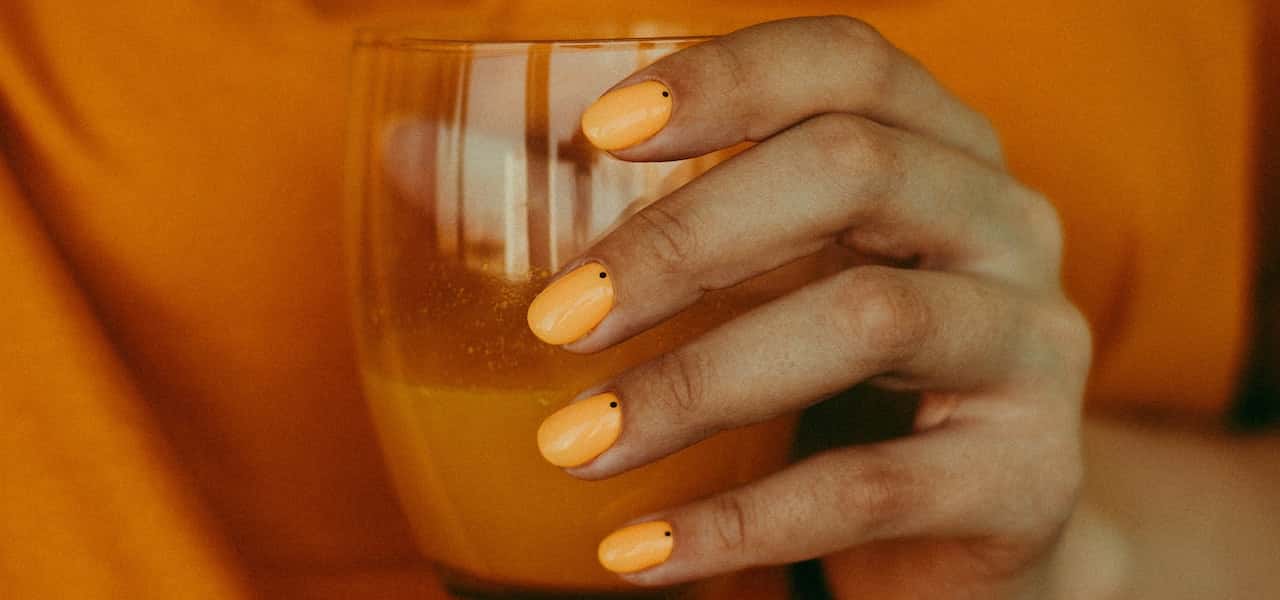
Here is your complete guide to why nail polish bubbles.
Introduction to Why Nail Polish Bubbles
Why nail polish bubbles? Nail polish is a beloved beauty product that has been used for centuries to add color and style to nails. However, many of us have experienced the frustrating issue of nail polish bubbling after application, resulting in an uneven and unattractive finish. But have you ever wondered why nail polish bubbles? Is it due to poor application techniques, the quality of the nail polish, or other factors? In this article, we will delve into the science behind nail polish bubbling, exploring the chemical composition of nail polish, the influence of various factors, and how to prevent and troubleshoot this common issue.
What Causes Nail Polish Bubbles?
Nail polish bubbling can occur due to several factors. One of the main culprits is air trapped in the polish during application. When nail polish is applied too thickly, the solvents in the polish can evaporate too quickly, creating bubbles as the gas is released. Another factor is the impact of temperature and humidity. High temperatures and humidity can accelerate the drying process, causing the polish to bubble. Additionally, poor application techniques such as shaking the nail polish bottle vigorously or using expired or low-quality nail polish can also contribute to bubbling.
The Science Behind Nail Polish Bubbles
To understand why nail polish bubbles, it’s important to know the chemical composition of nail polish. Nail polish typically consists of a mixture of solvents, pigments, resins, and plasticizers. Solvents are the liquid components that help dissolve the other ingredients and allow the polish to spread smoothly. Pigments are responsible for the color of the polish, while resins and plasticizers help create a durable and flexible finish.
When nail polish is applied, the solvents start to evaporate, leaving behind the pigments, resins, and plasticizers to form a hard, glossy coating on the nails. However, if the solvents evaporate too quickly, they can create tiny gas bubbles as they escape from the polish, resulting in a bubbled appearance. The speed of evaporation depends on various factors such as temperature, humidity, and air exposure, which can all affect the outcome of the nail polish application.

How to Prevent Nail Polish Bubbles
Preventing nail polish bubbles starts with proper application techniques. Follow these steps for a flawless application:
Prepare your nails
Clean your nails thoroughly and remove any old polish. Buff your nails to create a smooth surface for the polish to adhere to.
Shake the polish gently
Avoid shaking the nail polish bottle vigorously, as it can introduce air bubbles into the polish. Instead, roll the bottle between your palms to mix the ingredients without creating bubbles.
Apply thin coats
Apply thin coats of polish to your nails, avoiding thick layers that can trap air and cause bubbles. Allow each coat to dry completely before applying the next one.
Use quality nail polish
Invest in high-quality nail polish that is fresh and not expired. Cheap or old nail polish may have a higher likelihood of bubbling due to lower-quality ingredients.
Control temperature and humidity
Choose a well-ventilated area with moderate temperature and humidity for your nail polish application. Avoid extreme heat or humidity, as they can accelerate the drying process and lead to bubbling.
Avoid blowing on wet polish
Blowing on wet polish to speed up drying time is a common mistake that can introduce moisture and air into the polish, causing bubbles. Patience is key; allow the polish to dry naturally.
Troubleshooting Nail Polish Bubbles
Despite your best efforts, you may still encounter nail polish bubbling. Here are some solutions for fixing bubbled nail polish:
- Smooth it out: If you notice bubbles forming while the polish is still wet, gently glide a clean brush or an orange stick over the surface of the nails to smooth out the bubbles before the polish dries.
- Apply a top coat: Applying a top coat can help smooth out the surface and hide minor bubbles. Choose a top coat with a glossy finish to give your nails a smooth and polished look.
- Fix small bubbles with a toothpick: If you notice small bubbles after the polish has dried, you can use a toothpick or a fine brush to carefully dab a small amount of polish onto the bubbled areas and then smooth it out with a top coat.
- Remove and reapply: If the bubbling is extensive and affecting the overall appearance of your nails, it’s best to remove the polish completely and start over with a fresh application, following the proper techniques mentioned earlier.
Frequently Asked Questions about Why Nail Polish Bubbles
Can old or expired nail polish cause bubbling?
Yes, old or expired nail polish can have a higher likelihood of bubbling due to the deterioration of the ingredients over time. It’s best to use fresh and unexpired nail polish for a smoother application.
Can the type of nail polish brush affect bubbling?
Yes, the type of brush in the nail polish bottle can also affect bubbling. Brushes with stiff bristles or those that are overloaded with polish can cause uneven application and increase the chances of bubbling. Look for nail polishes with high-quality brushes that allow for precise and smooth application.
Can applying a base coat help prevent nail polish bubbling?
Yes, applying a base coat can create a barrier between your nails and the nail polish, helping to prevent bubbling. A base coat also provides a smooth surface for the polish to adhere to, reducing the chances of bubbles forming during the application process.
Read More About Should You Wear a Bra to Sleep?
Is it necessary to wait between coats of nail polish?
Yes, it’s crucial to allow each coat of nail polish to dry completely before applying the next one. This prevents the solvents from evaporating too quickly, reducing the chances of bubbling. Waiting for at least 2-3 minutes between coats is recommended.
Read More About How Long Do Acrylic Nails Last?
Can the climate or weather affect nail polish bubbling?
Yes, climate and weather can significantly impact nail polish bubbling. High temperatures, high humidity, or extremely dry conditions can affect the drying time of the polish and increase the chances of bubbling. It’s best to choose a well-ventilated area with moderate temperature and humidity for your nail polish application.
Read More About Makeup in the 70s.
How do I stop my nail polish from bubbling?
To prevent nail polish from bubbling, follow these tips:
- Use fresh and unexpired nail polish: Old or expired nail polish can have a higher likelihood of bubbling. It’s best to use fresh and unexpired nail polish for a smoother application.
- Apply thin coats: Applying thin coats of nail polish allows for quicker drying and reduces the chances of bubbles forming. Avoid overloading the brush with polish and apply in thin, even strokes.
- Avoid shaking the polish bottle vigorously: Shaking the nail polish bottle vigorously can introduce air bubbles into the polish, which can transfer onto the nails during application. Instead, roll the bottle gently between your palms to mix the polish.
- Do not blow on wet polish: Blowing on wet nail polish to speed up drying can create air bubbles, leading to bubbling. Allow each coat to dry naturally without any external air or heat.
- Use a base coat: Applying a base coat creates a barrier between your nails and the nail polish, helping to prevent bubbling. It also provides a smooth surface for the polish to adhere to.
- Allow each coat to dry completely: Waiting for each coat of nail polish to dry completely before applying the next one is crucial. This prevents the solvents from evaporating too quickly, reducing the chances of bubbling.
Read More About Hair and Makeup Trailers.
Do bubbles in nail polish go away?
Yes, small bubbles in nail polish can sometimes go away on their own as the polish dries. However, it’s best to avoid bubbles in the first place by following proper application techniques as mentioned above. If bubbles do appear, you can use a clean brush or an orange stick to smooth them out before the polish dries, or apply a top coat to hide minor bubbles.
Read More About Isolating Lashes.
How do you fix bubbles in gel nail polish?
Fixing bubbles in gel nail polish requires a slightly different approach due to the nature of gel polish. Here’s what you can do:
- Use a gel polish with a thinner consistency: Gel polishes with a thinner consistency are less likely to trap air bubbles. Avoid using thick or gloopy gel polishes that can increase the chances of bubbling.
- Apply thin coats of gel polish: Just like regular nail polish, applying thin coats of gel polish helps prevent bubbles from forming. Make sure to cure each coat properly using an LED or UV lamp according to the manufacturer’s instructions.
- Smooth out bubbles before curing: If you notice bubbles in the gel polish before curing, you can use a toothpick or a fine brush to carefully dab a small amount of polish onto the bubbled areas and then smooth it out with a top coat or a gel brush before curing.
- Apply a top coat: Applying a top coat after curing the gel polish can help smooth out the surface and hide minor bubbles. Choose a top coat with a glossy finish to give your nails a smooth and polished look.
Read More About Powerlifting Weight Classes for Women: Everything You Need to Know.
Why does my gel nail polish have bubbles?
There could be several reasons why gel nail polish has bubbles:
- Poor application technique: Applying gel polish too thickly or not curing each coat properly can result in bubbles forming.
- Using a gel polish with a thick consistency: Gel polishes with a thick consistency are more likely to trap air bubbles during application.
- Using old or expired gel polish: Just like regular nail polish, using old or expired gel polish can increase the chances of bubbling due to the deterioration of the ingredients over time.
- Shaking the gel polish bottle vigorously: Vigorously shaking the gel polish bottle can introduce air bubbles into the polish, which can transfer onto the nails during application.
To prevent bubbles in gel nail polish, make sure to use a gel polish with a thinner consistency, apply thin coats, cure each coat properly using an LED or UV lamp, and avoid shaking the bottle vigorously. It’s also important to use fresh and unexpired gel polish and follow proper application techniques to achieve a smooth and bubble-free finish.
Read More About Volume Lash vs. Classic Lash.
Conclusion
In conclusion, understanding the science behind nail polish bubbling can help you achieve a flawless and professional-looking manicure. Proper application techniques, using high-quality nail polish, controlling temperature and humidity, and avoiding common mistakes like shaking the polish bottle vigorously or blowing on wet polish are key to preventing nail polish bubbles. In case of bubbling, troubleshooting techniques such as smoothing out bubbles, applying a top coat, or starting over with a fresh application can help salvage the manicure. Remember to always follow the recommended steps for a smooth and long-lasting nail polish application. With the right knowledge and techniques, you can enjoy stunning and bubble-free nails every time you apply nail polish. Happy polishing!

