
Here is your complete guide to female pain in lower back.
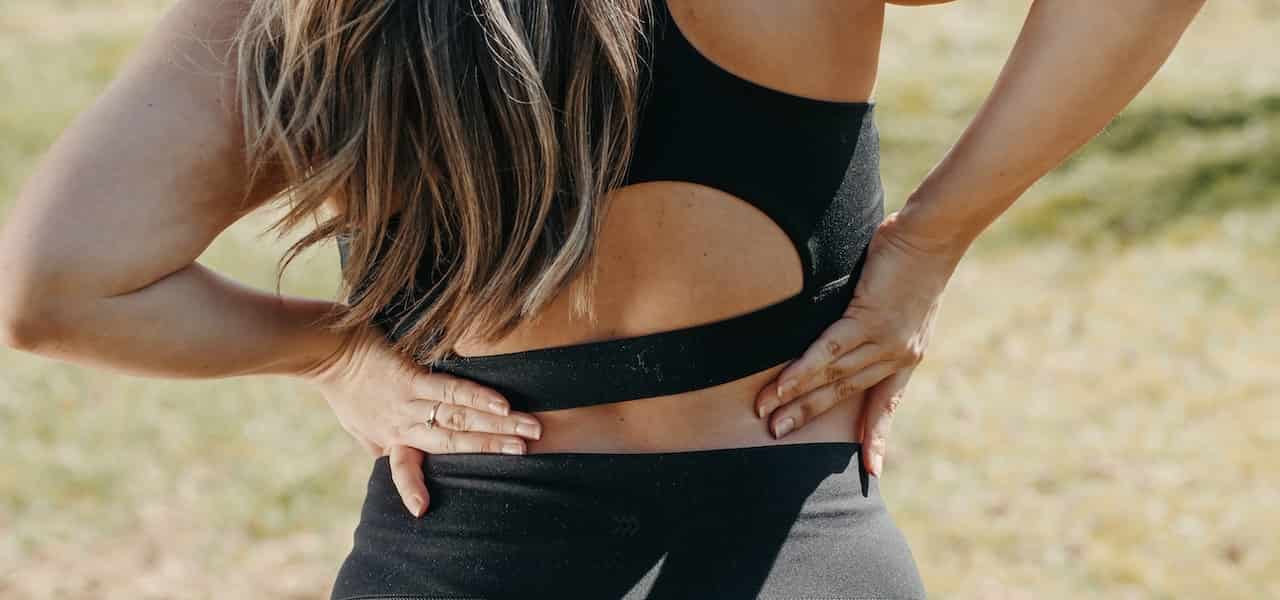
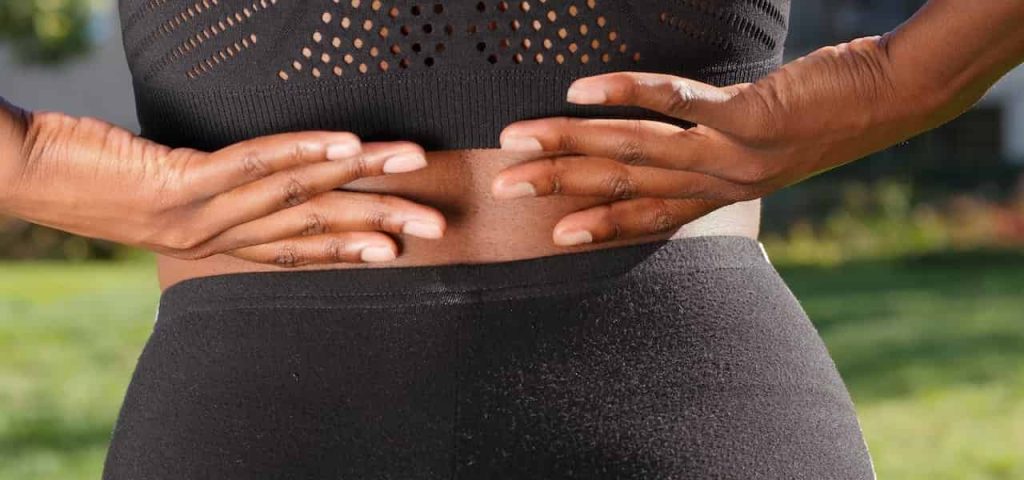
Introduction to Female Pain in Lower Back
Lower back pain is a common issue that affects millions of women worldwide. According to a study, around 80% of adults experience lower back pain at some point in their lives, and women are more prone to this problem than men. This pain can range from mild discomfort to excruciating pain and can significantly impact daily life activities. In this article, we will discuss the causes, symptoms, treatment, and prevention of lower back pain in women. So what are the main causes of female pain in lower back, what you need to know about female pain in lower back, why female pain in lower back is so important. Here is your complete guide to female pain in lower back.
Causes of Female Pain in Lower Back
- Pregnancy and Childbirth: During pregnancy, women undergo several physical changes that can lead to lower back pain. The expanding uterus shifts the center of gravity, causing an imbalance in the body, leading to strain on the lower back muscles. Additionally, during delivery, women may experience intense pressure on the lower back, leading to muscle sprains or strains.
- Menstrual Cramps and Endometriosis: Menstrual cramps are a common cause of lower back pain in women. These cramps occur due to the contraction of the uterus, which puts pressure on the lower back muscles. Endometriosis is another condition that can cause lower back pain in women. It is a condition where the tissues that usually grow inside the uterus grow outside it and can lead to severe pain in the lower back, abdomen, and pelvis.
- Ovarian Cysts: Ovarian cysts are fluid-filled sacs that develop in the ovaries. These cysts can grow large and cause pain and discomfort in the lower back, abdomen, and pelvis. In some cases, ovarian cysts can also rupture, leading to intense pain and even bleeding.
- Fibroids: Fibroids are non-cancerous growths that develop in the uterus. These growths can cause lower back pain, heavy menstrual bleeding, and abdominal pain.
- Urinary Tract Infections: Urinary tract infections (UTIs) are bacterial infections that can cause pain and discomfort in the lower back, abdomen, and pelvis. In some cases, UTIs can lead to kidney infections, which can cause severe lower back pain.
- Arthritis: Arthritis is a condition that affects the joints and can cause lower back pain. Osteoarthritis is the most common type of arthritis that affects the lower back.
- Poor Posture and Sedentary Lifestyle: Poor posture and a sedentary lifestyle can cause lower back pain. Sitting for extended periods can lead to stiffness and pain in the lower back. Similarly, poor posture while standing or walking can lead to muscle strains and back pain.
Symptoms of Female Pain in Lower Back
The symptoms of lower back pain in women can vary depending on the cause and severity of the pain. Some of the common symptoms include:
- Pain and discomfort in the lower back region
- Stiffness and difficulty in movement
- Numbness and tingling sensation in legs
- Weakness in legs
- Inability to stand or sit for long periods of time
- Pain during menstruation or intercourse (in case of endometriosis)
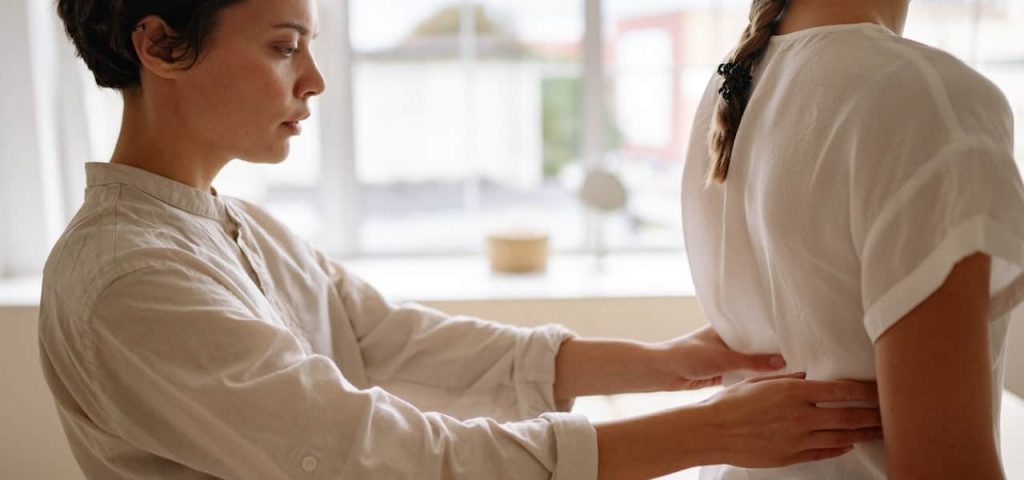
Diagnosis and Treatment of Lower Back Pain in Women
To diagnose lower back pain in women, doctors may perform a physical examination and ask about the medical history of the patient. Additionally, imaging tests like X-rays, MRI, and CT scans may be conducted to determine the underlying cause of the pain.
The treatment of lower back pain in women depends on the underlying cause and severity of the pain. In most cases, medication, physiotherapy, and home remedies are recommended. Medications like painkillers, muscle relaxants, and anti-inflammatory drugs are commonly prescribed to relieve pain and reduce inflammation.
Physiotherapy is an effective treatment option for lower back pain in women. It involves exercises that can improve flexibility, strength, and mobility of the lower back muscles. In some cases, doctors may recommend surgery to treat the underlying cause of the pain.
Apart from medical treatment, there are several home remedies that can help relieve lower back pain. These include:
- Applying heat or cold compress to the affected area
- Doing stretching exercises and yoga poses that target the lower back muscles
- Massaging the affected area with essential oils like peppermint or lavender oil
- Taking a warm bath with Epsom salt
- Using over-the-counter pain relief creams and ointments
Prevention of Female Pain in Lower Back
Preventing lower back pain in women is possible with a few lifestyle changes and precautions. Here are some tips to prevent lower back pain:
- Maintain a healthy weight: Excess weight can put pressure on the lower back muscles, leading to pain and discomfort. Maintaining a healthy weight through a balanced diet and regular exercise can reduce the risk of lower back pain.
- Exercise regularly: Regular exercise can strengthen the muscles of the lower back and improve flexibility, reducing the risk of pain and stiffness. Additionally, exercise can also improve overall health and wellbeing.
- Practice good posture: Maintaining good posture while standing or sitting can reduce strain on the lower back muscles. Use an ergonomic chair while sitting and avoid high heels as they can put pressure on the lower back.
- Take breaks during prolonged sitting or standing: Taking breaks during prolonged sitting or standing can reduce the risk of stiffness and pain in the lower back. Stand up and stretch every hour or so.
- Lift objects properly: When lifting heavy objects, bend the knees and keep the back straight to reduce the risk of muscle strain.
here’s a table of some foods that can help alleviate lower back pain in women:
| Food | Nutrient | How it helps |
|---|---|---|
| Ginger | Gingerol | Acts as an anti-inflammatory and helps reduce pain and stiffness in the lower back |
| Salmon | Omega-3 Fatty Acids | Has anti-inflammatory properties that can reduce lower back pain |
| Leafy Greens (Spinach, Kale, Swiss Chard) | Magnesium | Helps to relax the muscles and reduce muscle tension in the lower back |
| Turmeric | Curcumin | Has anti-inflammatory properties and can help reduce pain and swelling in the lower back |
| Pineapple | Bromelain | Has anti-inflammatory properties and can help reduce swelling and pain in the lower back |
| Cherries | Anthocyanins | Has anti-inflammatory properties that can reduce pain and stiffness in the lower back |
| Water | N/A | Helps to keep the body hydrated, which is essential for maintaining healthy muscles and joints |
Incorporating these foods into your diet, along with medical treatment and lifestyle changes, can help alleviate lower back pain in women. However, it’s important to consult with a doctor or a registered dietitian before making any significant changes to your diet.
Read More About How to Lose Thigh Fat: A Comprehensive Guide for Women.
FAQs About Female Pain in Lower Back
What causes lower back ache in females?
Lower back pain in females can be caused by several factors such as poor posture, muscle strain or injury, pregnancy, herniated disc, sciatica, osteoporosis, arthritis, and endometriosis. In some cases, lower back pain can be a symptom of a more serious underlying condition, such as cancer or infection.
Read More About How to Gain Weight During Your Period: Tips and Tricks.
What infection causes lower back pain in females?
Urinary tract infections (UTIs) are a common cause of lower back pain in females. UTIs are caused by bacteria that enter the urinary tract through the urethra and can affect the bladder, ureters, and kidneys. In addition to lower back pain, UTIs can cause symptoms such as a burning sensation during urination, frequent urination, and cloudy or strong-smelling urine. It’s important to seek medical attention if you suspect you have a UTI, as the infection can spread to the kidneys and cause more serious complications.
Read More About How Long Do Acrylic Nails Last and How to Make Them Last Longer.
When should I worry about my lower back pain?
You should seek medical attention if your lower back pain is severe, lasts more than a few days, is accompanied by other symptoms such as fever or loss of bladder control, or is interfering with your daily activities. Additionally, if you have a history of cancer or osteoporosis, or if you have experienced recent trauma to the back, it’s important to consult with a doctor. A medical professional can help diagnose the underlying cause of the pain and recommend appropriate treatment options.
Read More About Understanding the Love Language of Physical Touch: Tips and Examples.
Which female hormone causes back pain?
Estrogen, a female hormone, can cause back pain in women. During menstruation, estrogen levels can fluctuate, which can cause inflammation and pain in the lower back muscles. Additionally, during pregnancy, the increase in estrogen levels can cause the ligaments and joints in the lower back to relax, leading to pain and discomfort. However, back pain caused by hormonal changes can be managed with medical treatment, lifestyle changes, and home remedies.
Read More About Dry Lips and Vitamin Deficiencies: A Comprehensive Guide.
Conclusion
Lower back pain is a common problem that affects women of all ages. The pain can be mild or severe and can significantly impact daily activities. Identifying the underlying cause of the pain and taking appropriate treatment can relieve the pain and prevent future episodes. Additionally, practicing good posture, maintaining a healthy weight, and regular exercise can prevent lower back pain in women. It’s important to seek medical help if the pain persists or worsens over time. By taking the necessary precautions and seeking timely medical attention, women can prevent and manage lower back pain effectively.
Read More About Powerlifting Weight Classes for Women: Everything You Need to Know.